1.4. First operations
In this section, you will perform your first operation on a vector layer: the Dissolve operation. Furthermore, you will make a Page layout to make a presentable map out of your layers.
Tip
See the Processing Guide for a more complete introduction to the processing algorithms inside QGIS.
1.4.1.  Follow Along: A virtual tour through the Hadocha sub-catchment
Now we have added all our layers to the project in the previous exercise, it is time to explore them a bit.
Open the attribute table of the Hadocha_landuse layer. Either by selecting the layer and pressing f6, the
 button on the top
toolbar, or right-clicking the layer and pressing Open
attribute table.
button on the top
toolbar, or right-clicking the layer and pressing Open
attribute table.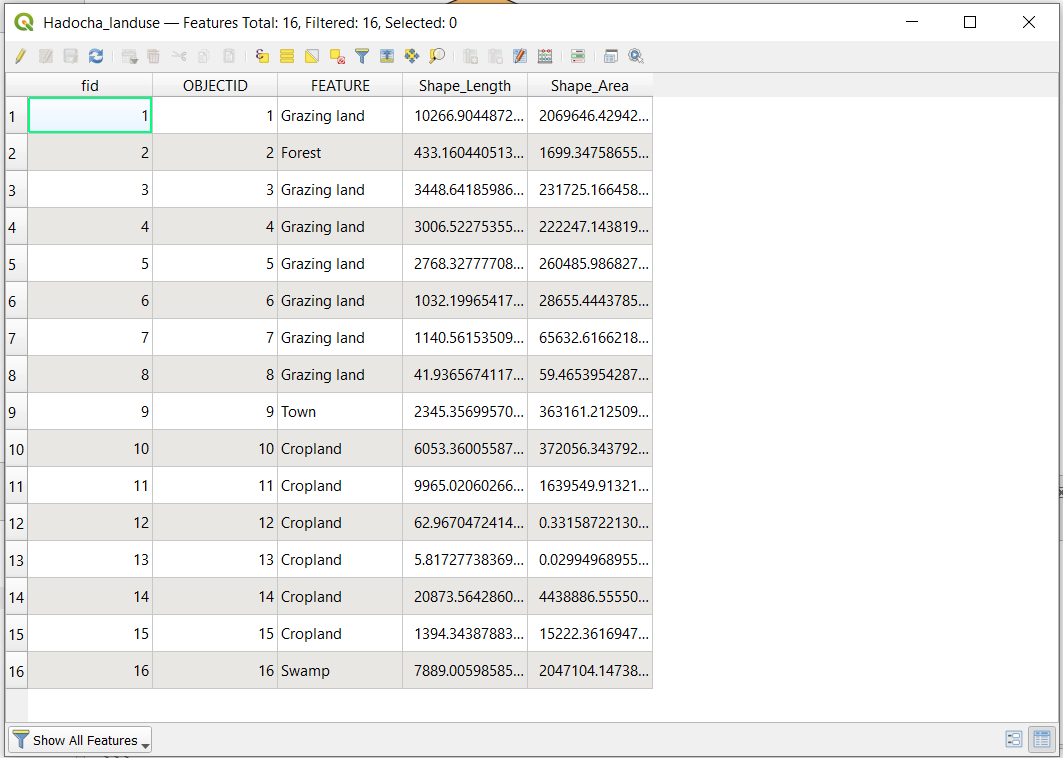
An attribute table is a useful way for inspecting the data of your layer. It is always the first thing you would look at if you get unexpected output. Close the attribute table by pressing Esc.
Another way of inspecting a layer is by using
 identify. With
Hadocha_landuse selected, press Ctrl+Shift+I or
in the top toolbar. Click the swamp and the following window should pop up:
identify. With
Hadocha_landuse selected, press Ctrl+Shift+I or
in the top toolbar. Click the swamp and the following window should pop up: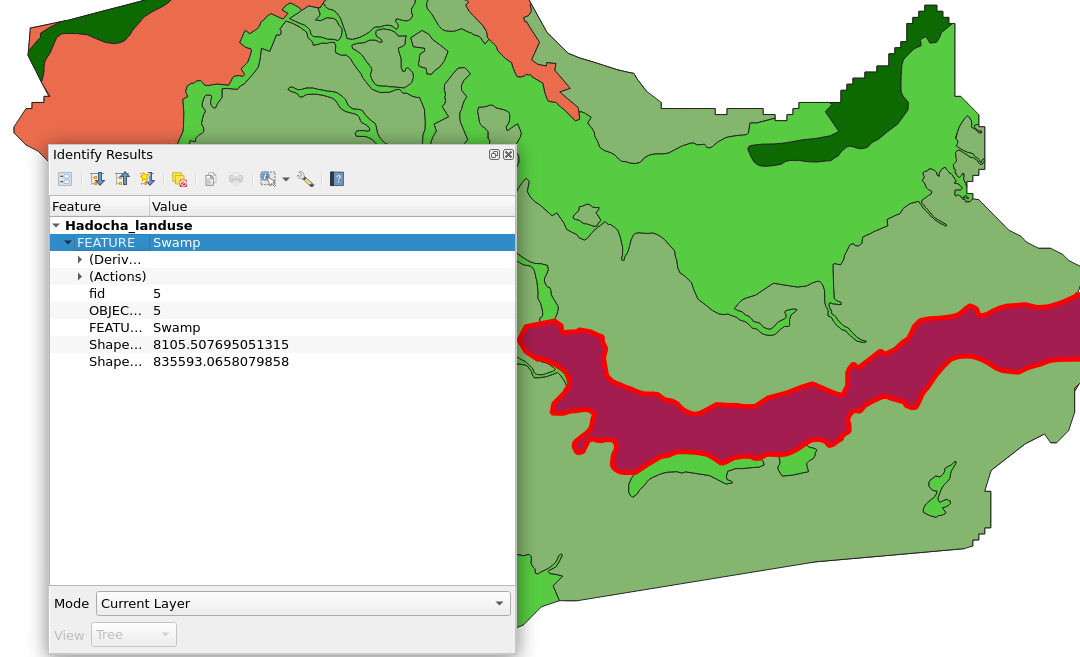
As you can see, all values of the attribute table are shown.
inspect the other layers Hadocha_soil and Hadocha_dem.
1.4.2. Follow Along: Perform a dissolve operation
As we have seen in the attribute tables, there are multiple features that have the same landuse and soiltypes. To solve this, we will perform a qgisdissolve operation.
Note
There are multiple different providers for algorithms. There is the are
default ![]() QGIS algorithms,
QGIS algorithms,  GDAL,
GDAL,  SAGA and
  GRASS.
These are different GIS applications that come bundled with QGIS. In this
exercise we will be using the
GRASS.
These are different GIS applications that come bundled with QGIS. In this
exercise we will be using the ![]() algorithm. Feel free to try out the
other algorithms throughout the practical, but remember to not get too distracted!
algorithm. Feel free to try out the
other algorithms throughout the practical, but remember to not get too distracted!
follow Set up from the processing guide to get the toolbox.
Search for
Dissolvein the search bar and select the
 algorithm.
Fill it in like this:
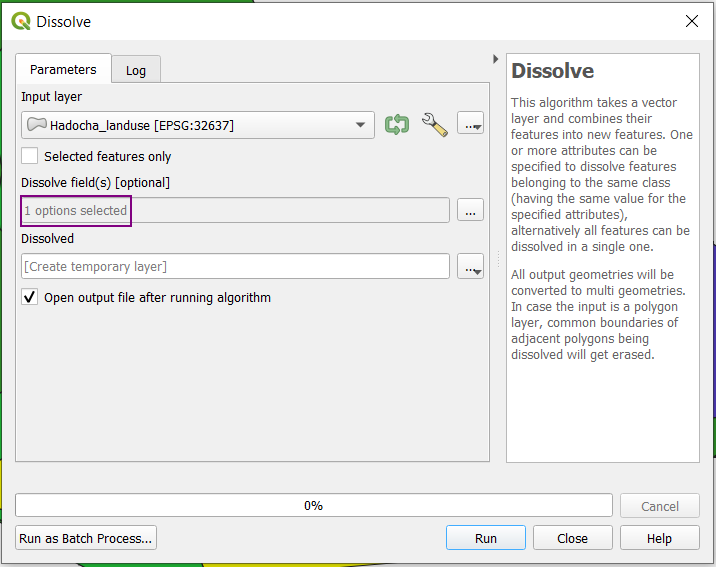
Under Dissolve field(s) [optional], select

FEATURE. Your resulting layer should look like this: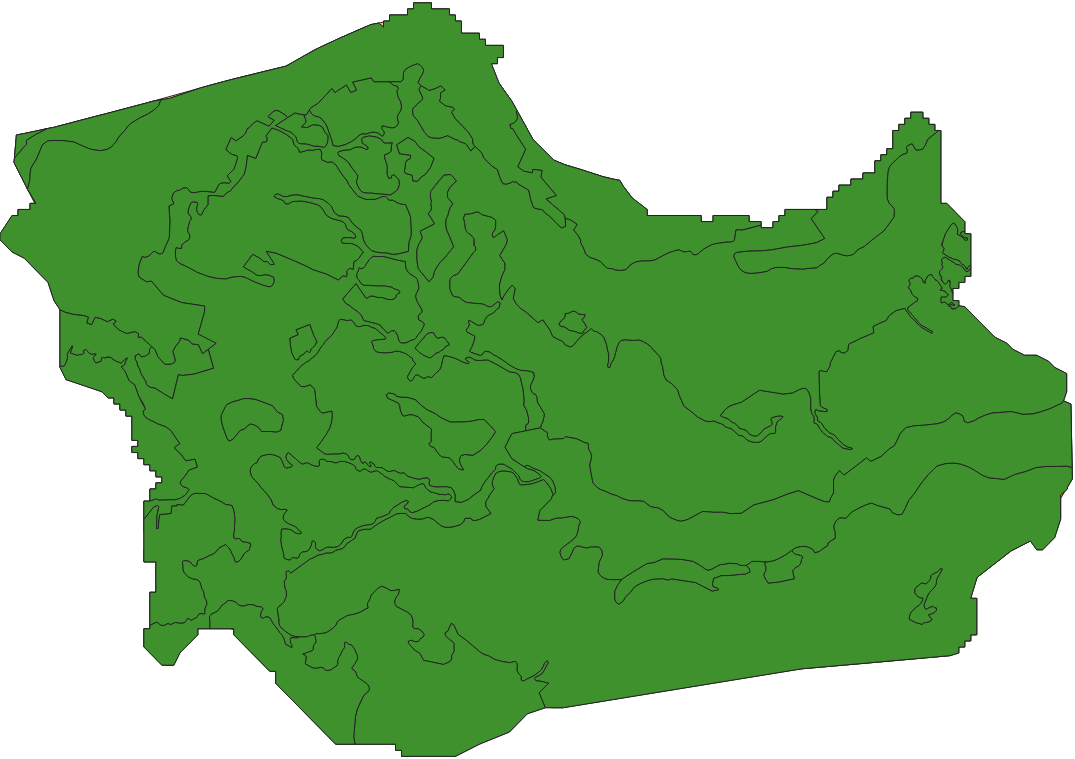
Now, to apply the symbology of the undissolved layer, right-click Hadocha_landuse in the Layers panel. Now, . On the Dissolved layer, click to apply the styles.
Perform the same operation on Hadocha_soil.
1.4.3. Saving your layer to a  Geopackage
By default, processes will create a temporary layer, which is saved in a
location that will be erased on reboot and very difficult to find after you close
QGIS. Temporary layers are indicated by the  icon.
icon.
In this exercise, we will save the layer in a GeoPackage. Very technically, this is a SQLite SpatiaLite database with specifications for storing spatial vector and raster data. Because it is a database, a GeoPackage can store multiple layers of either vector or raster data. ArcGIS does not support rasters for GeoPackages yet, see Data sharing - Raster.
Right-click the layer and click
 Make Permanent…
Fill in the dialog as follows:
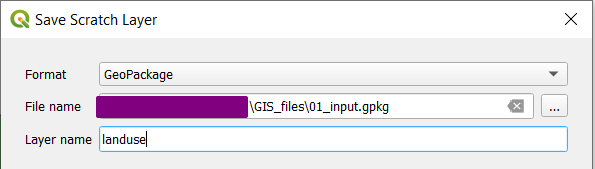
Here, we create a new GeoPackage
01_input.gpkgwith the Dissolved landuse layer. This is the GeoPackage we will later on use for all input data of the MMF erosion model.Save the dissolved soil layer in the same GeoPackage.